

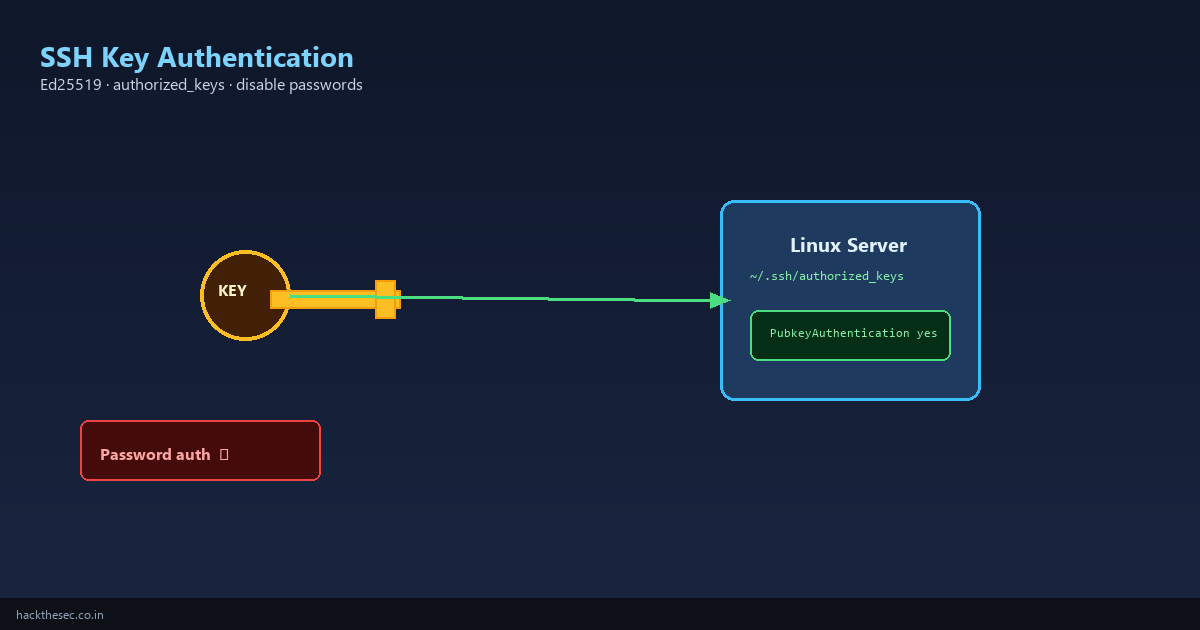
Password-based SSH login is the #1 way Linux servers get compromised. Bots guess thousands of combinations per hour; one weak password and the server is owned.
SSH key authentication replaces passwords with cryptographic keys. Only someone holding the private key can log in — even if attackers know your username. This guide covers key generation, deployment, server configuration, and troubleshooting from scratch on any modern Linux distro.
Time required: 20–30 minutes. Prerequisite: SSH access to the server (password login OK for initial setup).
Table of contents
- Why SSH keys beat passwords
- Ed25519 vs RSA — which key type to use
- Generate an SSH key pair on your workstation
- Deploy the public key to the server
- Test key login before disabling passwords
- Configure sshd for key-only auth
- SSH agent and passphrase management
- Multiple servers and per-host keys
- authorized_keys advanced options
- Troubleshooting permission errors
1. Why SSH keys beat passwords
- Brute-force immune: 256-bit Ed25519 keys cannot be guessed
- No credential reuse risk: each server can have a unique key
- Automation-friendly: CI/CD, Ansible, and backup scripts use keys
- Audit trail: you know which key (which admin) accessed the server
Pair keys with PasswordAuthentication no in sshd_config — this is the single highest-impact SSH security change you can make.
2. Ed25519 vs RSA
| Type | Command | When to use |
|---|---|---|
| Ed25519 (recommended) | ssh-keygen -t ed25519 | All new setups — fast, secure, small keys |
| RSA 4096 | ssh-keygen -t rsa -b 4096 | Legacy systems that don't support Ed25519 |
3. Generate an SSH key pair
Run on your local machine (laptop or admin workstation), not the server:
# Ed25519 with strong KDF (recommended)
ssh-keygen -t ed25519 -a 100 -C "admin@yourdomain.com" \
  -f ~/.ssh/id_ed25519_server

# You will be prompted for a passphrase — USE ONE
# Passphrase protects the key if your laptop is stolen

# Verify files created
ls -la ~/.ssh/id_ed25519_server*
# id_ed25519_server     → PRIVATE key (never share)
# id_ed25519_server.pub → PUBLIC key (goes on server)
4. Deploy the public key to the server
# Method 1: ssh-copy-id (easiest)
ssh-copy-id -i ~/.ssh/id_ed25519_server.pub deploy@203.0.113.10

# Method 2: manual (if ssh-copy-id unavailable)
cat ~/.ssh/id_ed25519_server.pub | ssh deploy@203.0.113.10 \
  'mkdir -p ~/.ssh && chmod 700 ~/.ssh && cat >> ~/.ssh/authorized_keys && chmod 600 ~/.ssh/authorized_keys'

# Method 3: cloud-init / Ansible / panel — paste .pub content into authorized_keys
5. Test key login
# Explicit key file
ssh -i ~/.ssh/id_ed25519_server deploy@203.0.113.10

# Or add to ~/.ssh/config for convenience:
cat >> ~/.ssh/config <<'EOF'
Host prod-web
    HostName 203.0.113.10
    User deploy
    IdentityFile ~/.ssh/id_ed25519_server
    IdentitiesOnly yes
EOF
chmod 600 ~/.ssh/config

ssh prod-web
Confirm you log in without being prompted for the server password (you may still enter your key passphrase — that is normal).
6. Configure sshd for key-only auth
On the server, create /etc/ssh/sshd_config.d/99-keyonly.conf:
PubkeyAuthentication yes
PasswordAuthentication no
KbdInteractiveAuthentication no
ChallengeResponseAuthentication no
PermitRootLogin no
MaxAuthTries 3
# Validate and reload — keep a second SSH session open!
sudo sshd -t && sudo systemctl reload sshd7. SSH agent and passphrase
# Start agent and add key (Linux desktop / macOS)
eval "$(ssh-agent -s)"
ssh-add ~/.ssh/id_ed25519_server

# List loaded keys
ssh-add -l

# Linux: use keychain or systemd-ssh-agent for persistence across reboots
Never store unencrypted private keys on shared CI runners without secret management. Use deploy keys with minimal scope.
8. Multiple servers and per-host keys
Best practice: one key pair per environment or per admin — not one key for everything.
ssh-keygen -t ed25519 -f ~/.ssh/id_ed25519_staging -C "staging"
ssh-keygen -t ed25519 -f ~/.ssh/id_ed25519_prod -C "production"

# ~/.ssh/config maps each host to its key
Host staging-*
    IdentityFile ~/.ssh/id_ed25519_staging
Host prod-*
    IdentityFile ~/.ssh/id_ed25519_prod
9. authorized_keys advanced options
# Restrict key to one command (backup script only)
command="/usr/local/bin/backup.sh",no-port-forwarding,no-X11-forwarding \
  ssh-ed25519 AAAA... backup@cron

# Restrict key to specific source IP
from="198.51.100.50" ssh-ed25519 AAAA... admin@office

# Set expiry (OpenSSH 8.2+)
expiry-time="20261231" ssh-ed25519 AAAA... temp-contractor
10. Troubleshooting
- Permission denied (publickey): check
~/.sshis 700,authorized_keysis 600, home dir not world-writable - Still asks for password:
PasswordAuthenticationstill yes in another sshd_config drop-in — grep all files insshd_config.d/ - Wrong key offered: use
IdentitiesOnly yesin SSH config - SELinux: restore context:
restorecon -R -v ~/.ssh
# Server-side debug (run on server while you attempt login)
sudo tail -f /var/log/auth.log    # Debian/Ubuntu
sudo journalctl -u sshd -f        # All systemd distros
Bottom line: generate Ed25519 keys, deploy with ssh-copy-id, test, then disable password auth. This one change stops nearly all automated SSH takeover attempts.