

This long-form guide covers two enterprise hypervisors side by side: Proxmox VE (open-source, KVM + LXC) and VMware ESXi (commercial, vSphere hypervisor). You will install both from bare metal, verify each web interface, create your first VM, and understand when to choose which platform.
Part A — Proxmox VE installation (bare metal)
A1. Requirements
- 64-bit CPU with VT-x/AMD-V enabled in BIOS
- 8 GB RAM minimum (16 GB+ for lab with multiple VMs)
- 32 GB+ boot disk (120 GB SSD recommended)
- Static IP for management interface
- Proxmox VE 9.x ISO from
proxmox.com/downloads
A2. Create bootable USB
# On Linux workstation — flash ISO to USB
lsblk
sudo dd if=proxmox-ve_9.0-1.iso of=/dev/sdX bs=4M status=progress conv=fsync
# Or use Ventoy / Rufus / balenaEtcher on Windows
A3. Boot and start graphical installer
- Insert USB, boot server, press F11/F12 for boot menu.
- Select Install Proxmox VE (Graphical).
- Accept EULA → select target disk (ext4 or ZFS).
- Set country, timezone, keyboard.
- Set root password and email for alerts.
- Configure management network: hostname
pve1.lab.local, IP192.168.1.50/24, gateway, DNS. - Review summary → Install → reboot.
Installer console output (typical):
Starting Proxmox VE installer...
Formatting /dev/nvme0n1p2 ext4...
Installing base system packages...
Installing Proxmox VE packages (pve-manager, qemu, lxc)...
Configuring network vmbr0 on eno1...
Installation completed — rebooting.
A4. First login to Proxmox web UI
# From browser
https://192.168.1.50:8006
# Login: root / your-install-password
# Realm: Linux PAM standard authentication

# From SSH — verify version
ssh root@192.168.1.50
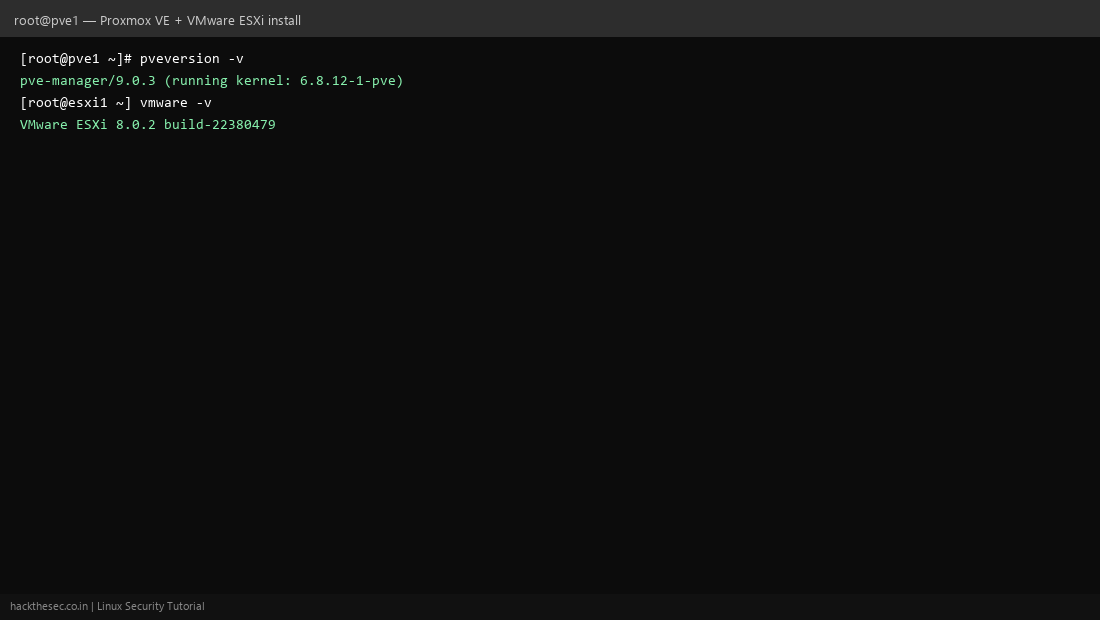
pveversion -v
systemctl status pveproxy pvedaemon pve-cluster
Expected pveversion output:
pve-manager/9.0.3/bc4f547a (running kernel: 6.8.12-1-pve)
qemu-server: 9.0.3
pve-qemu-kvm: 9.0.2-1
A5. Post-install Proxmox configuration
# Update repositories and upgrade
apt update && apt full-upgrade -y

# Disable enterprise repo if no subscription (lab only)
# Use pve-no-subscription repo per Proxmox wiki

# Download Ubuntu cloud-init template for CT/VM
pveam update
pveam available | grep ubuntu
pveam download local ubuntu-22.04-standard_22.04-1_amd64.tar.zst

# Check node status
pvesh get /nodes/pve1/status
A6. Create first VM in Proxmox
- Datacenter → pve1 → Create VM.
- General: VM ID 100, name
ubuntu-web. - OS: ISO image (upload Ubuntu ISO to local storage first).
- System: default BIOS, Q35 machine type.
- Disks: 32 GB on local-lvm.
- CPU: 2 cores, RAM: 2048 MB.
- Network: vmbr0, virtio model.
- Finish → Start VM → Open console.
# CLI create + start VM
qm create 100 --name ubuntu-web --memory 2048 --cores 2 \
  --net0 virtio,bridge=vmbr0 --scsi0 local-lvm:32
qm set 100 --cdrom local:iso/ubuntu-22.04.iso
qm start 100
qm list
Part B — VMware ESXi installation (bare metal)
B1. Requirements and licensing
- Server on VMware HCL (Hardware Compatibility List)
- ESXi 8.x ISO from Broadcom/VMware portal (free tier or vSphere license)
- 8 GB RAM minimum, 32 GB boot USB/SD or local disk
- Management IP on dedicated VLAN recommended
B2. Boot ESXi installer
- Flash ESXi ISO to USB, boot server.
- Select ESXi-8.x Standard Installer.
- Enter (Continue) through welcome → Accept EULA.
- Select install disk (local SSD — all data will be erased).
- Select keyboard layout.
- Set root password (complexity required).
- Confirm install → Reboot.
ESXi installer log on screen (DCUI):
VMware ESXi 8.0.2 Installation
Reading installation image...
Creating VMFS datastore 'datastore1' on Local NVMe...
Installing hypervisor binaries...
Installation successful. Please reboot.
B3. Configure ESXi management network (DCUI)
- After reboot, press F2 on Direct Console UI.
- Login as root.
- Configure Management Network → IPv4 → Static.
- IP:
192.168.1.60, Mask:255.255.255.0, Gateway:192.168.1.1 - DNS:
8.8.8.8, Hostname:esxi1.lab.local - Test management network → working.
# From SSH (after enabling SSH in DCUI → Troubleshooting)
ssh root@192.168.1.60
vmware -v
esxcli system version get
esxcli network ip interface ipv4 get
Expected output:
VMware ESXi 8.0.2 build-22380479
   Product: VMware ESXi
   Version: 8.0.2
   Build: Releasebuild-22380479
   Update: 2
B4. Access ESXi Host Client (web UI)
# Browser
https://192.168.1.60/ui
# Login: root / password
# Create datastore, upload ISO, create VM from GUI
B5. Create first VM on ESXi
- Host Client → Virtual Machines → Create VM.
- Name:
ubuntu-web-esxi, Compatibility: ESXi 8.x. - Guest OS: Linux → Ubuntu 64-bit.
- Datastore: datastore1, 32 GB thin disk.
- 2 vCPU, 2 GB RAM, VMXNET3 network.
- Mount Ubuntu ISO from datastore browser.
- Power on → Open console → install OS.
# Useful ESXi CLI commands
esxcli vm process list
vim-cmd vmsvc/getallvms
esxcli storage filesystem list
esxcli system maintenanceMode set --enable true   # before major changes
esxcli system maintenanceMode set --enable false
Part C — Proxmox vs VMware: comparison
| Feature | Proxmox VE | VMware ESXi |
|---|---|---|
| License | Open source + optional subscription | Commercial (free tier limited since Broadcom acquisition) |
| Web UI port | 8006 (HTTPS) | 443 / Host Client at /ui |
| Containers | Native LXC | Not native (VMs only) |
| Clustering | Built-in corosync cluster | Requires vCenter for multi-host |
| Backup | vzdump + Proxmox Backup Server | vSphere APIs / Veeam / image-level |
| Storage | ZFS, LVM, Ceph, NFS, iSCSI | VMFS, NFS, vSAN (with vSphere) |
| Best for | Homelab, MSPs, cost-sensitive hosting | Enterprise DC, existing VMware stack |
Part D — When to choose which
Choose Proxmox VE when you want open-source KVM, LXC containers, integrated backups, ZFS/Ceph, and no per-socket licensing. Ideal for homelab, hosting providers, and Linux-first teams.
Choose VMware ESXi when your organization already runs vSphere, needs official enterprise support, vMotion with vCenter, or compliance mandates for VMware-only stacks.
Part E — Side-by-side verification checklist
# === Proxmox (192.168.1.50) ===
pveversion
pvesm status
qm list
pct list
journalctl -u pveproxy --since today | tail -20

# === ESXi (192.168.1.60) ===
vmware -v
esxcli hardware platform get
esxcli vm process list
grep -i error /var/log/vmkernel.log | tail -10
grep -i error /var/log/hostd.log | tail -10
Part F — Common issues
Proxmox
- Cannot access :8006 — check
systemctl status pveproxy, firewall, and certificate. - No subscription nag — expected without license; use no-subscription repo for lab.
- VM won't start — enable VT-x in BIOS; check
journalctl -u qmeventd.
VMware ESXi
- Installer doesn't see NIC — inject VIB driver or use supported HCL hardware.
- License warning — assign license in Host Client → Manage → Licensing.
- Datastore full —
esxcli storage vmfs extent listand expand or add disk.
You now know how to install and verify both Proxmox VE and VMware ESXi from scratch. For production, add backup (PBS or vzdump / Veeam), monitoring, and cluster planning before migrating workloads.