

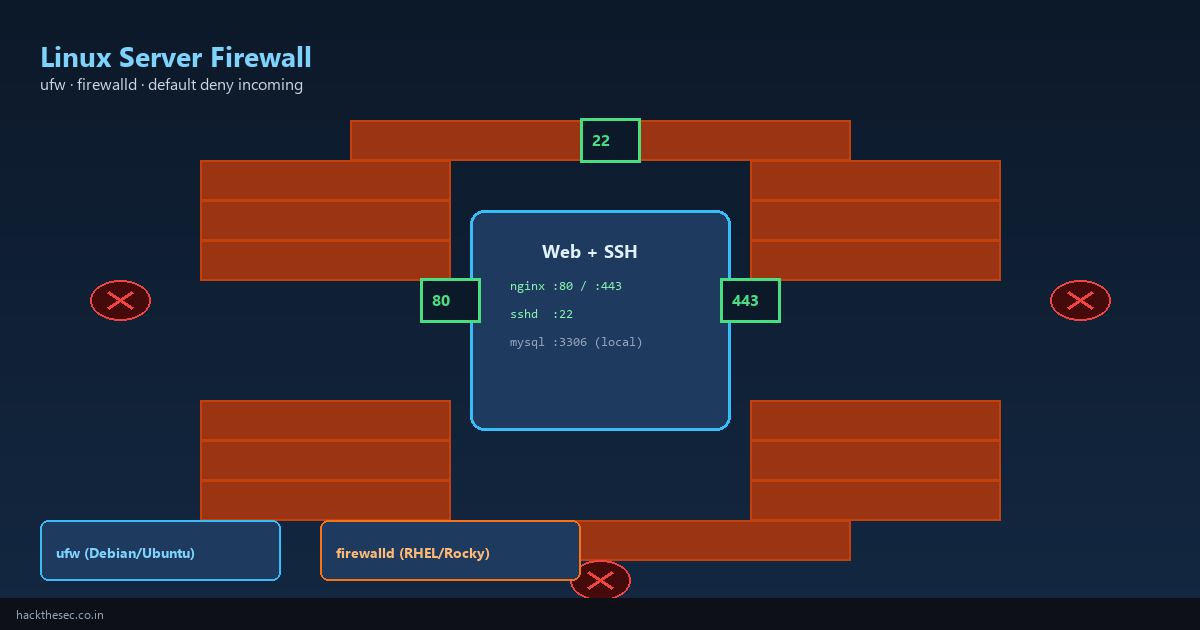
Every Linux server exposed to the internet needs a firewall. Without one, every service listening on a port is reachable worldwide — including databases, admin panels, and debug endpoints you forgot were running.
This guide explains ufw (Ubuntu/Debian) and firewalld (RHEL/Alma/Rocky), shows the equivalent commands side by side, and walks through a safe production setup: default deny incoming, allow only SSH and web ports, and verify rules before you lock yourself out.
Time required: 20–30 minutes. Prerequisite: root or sudo access.
Table of contents
- Why you need a Linux firewall
- ufw vs firewalld — which one do you have?
- Safe setup workflow (don't lock yourself out)
- ufw complete setup (Debian/Ubuntu)
- firewalld complete setup (RHEL family)
- Allow SSH, HTTP, HTTPS — reference table
- Restrict SSH to one IP
- Check and delete rules
- Persist rules across reboot
- Troubleshooting
1. Why you need a Linux firewall
Cloud providers often ship servers with a security group or network ACL — but the OS-level firewall is still your last line of defense. It protects you when:
- A new service binds to
0.0.0.0by mistake - Cloud firewall rules are misconfigured
- An attacker scans for non-standard ports (Redis 6379, MongoDB 27017, etc.)
- You move the server to a different network
Both ufw and firewalld are front-ends to iptables or nftables. Pick whichever your distro ships — do not install both as active managers on the same host.
2. ufw vs firewalld — which one do you have?
| Distro | Default firewall | Config path |
|---|---|---|
| Ubuntu, Debian | ufw | /etc/ufw/ |
| AlmaLinux, Rocky, RHEL, Fedora | firewalld | /etc/firewalld/ |
| CentOS Stream | firewalld | /etc/firewalld/ |
# Check which is installed
which ufw firewalld 2>/dev/null
systemctl is-active ufw firewalld 2>/dev/null
3. Safe setup workflow (don't lock yourself out)
- Open a second SSH session (or use cloud serial console)
- Allow SSH before enabling default deny
- Enable the firewall
- Test the first session still works
- Add web/mail ports as needed
If you lose access: use your provider's out-of-band console (AWS EC2 Serial, DigitalOcean Recovery, etc.).
4. ufw complete setup (Debian/Ubuntu)
sudo apt update && sudo apt install -y ufw

# Defaults: deny all incoming, allow all outgoing
sudo ufw default deny incoming
sudo ufw default allow outgoing

# Allow SSH FIRST
sudo ufw allow 22/tcp comment 'SSH'

# Web server ports
sudo ufw allow 80/tcp comment 'HTTP'
sudo ufw allow 443/tcp comment 'HTTPS'

# Enable (will prompt if SSH not allowed)
sudo ufw enable
sudo ufw status verbose
Numbered rules (useful for deleting specific entries):
sudo ufw status numbered
# Delete rule 3
sudo ufw delete 3
Rate-limit SSH brute-force (built into ufw — lightweight alternative to fail2ban):
sudo ufw limit 22/tcp comment 'SSH rate limit'5. firewalld complete setup (RHEL family)
sudo systemctl enable --now firewalld
sudo firewall-cmd --state

# Allow services by name
sudo firewall-cmd --permanent --add-service=ssh
sudo firewall-cmd --permanent --add-service=http
sudo firewall-cmd --permanent --add-service=https

# Apply changes
sudo firewall-cmd --reload
sudo firewall-cmd --list-all
firewalld uses zones. Default zone is usually public:
sudo firewall-cmd --get-default-zone
sudo firewall-cmd --zone=public --list-all
Allow a custom port (e.g. Node.js app on 3000):
sudo firewall-cmd --permanent --zone=public --add-port=3000/tcp
sudo firewall-cmd --reload
6. Allow SSH, HTTP, HTTPS — reference table
| Task | ufw | firewalld |
|---|---|---|
| Allow SSH | ufw allow 22/tcp | firewall-cmd --permanent --add-service=ssh |
| Allow HTTP/HTTPS | ufw allow 80,443/tcp | firewall-cmd --permanent --add-service={http,https} |
| Allow custom port | ufw allow 8080/tcp | firewall-cmd --permanent --add-port=8080/tcp |
| Deny IP | ufw deny from 203.0.113.90 | firewall-cmd --permanent --add-rich-rule='rule family=ipv4 source address=203.0.113.90 reject' |
| Reload | ufw reload | firewall-cmd --reload |
7. Restrict SSH to one IP
For admin servers, allow SSH only from your office or VPN:
# ufw — remove open SSH rule first, then:
sudo ufw delete allow 22/tcp
sudo ufw allow from 198.51.100.50 to any port 22 proto tcp comment 'Office VPN'

# firewalld rich rule
sudo firewall-cmd --permanent --add-rich-rule='rule family=ipv4 source address=198.51.100.50/32 port port=22 protocol=tcp accept'
sudo firewall-cmd --permanent --remove-service=ssh
sudo firewall-cmd --reload
8. Check and delete rules
# ufw
sudo ufw status numbered
sudo ufw delete allow 80/tcp

# firewalld
sudo firewall-cmd --list-all
sudo firewall-cmd --permanent --remove-service=http
sudo firewall-cmd --reload

# See raw nftables rules (both backends)
sudo nft list ruleset | head -40
9. Persist rules across reboot
- ufw: rules persist automatically when enabled via
ufw enable - firewalld: always use
--permanentflag, then--reload
# Verify ufw starts on boot
systemctl is-enabled ufw

# Verify firewalld starts on boot
systemctl is-enabled firewalld
10. Troubleshooting
- Can't reach web server after enabling firewall: confirm ports 80/443 are allowed; check
ss -tlnpshows nginx/apache listening - SSH works but SCP/SFTP fails: SFTP uses SSH port — same rule applies; check
Subsystem sftpin sshd_config - ufw + Docker conflict: Docker manipulates iptables directly — see Docker docs for
ufw-dockeror bind containers to localhost - firewalld rule not active: forgot
--permanentor--reload - Cloud security group blocks traffic: OS firewall can be correct but provider ACL still denies — check both layers
Bottom line: enable the firewall on every Linux server, default deny incoming, allow only what you need, and always keep a backup access path before applying changes. Pair this with SSH key auth and fail2ban for a solid baseline.